Difference between revisions of "Making some simple Animated Water"
| Line 63: | Line 63: | ||
Now, you have a nice slow-moving anim for your water surface. | Now, you have a nice slow-moving anim for your water surface. | ||
| + | |||
| + | |||
| + | Note: If you need your animation to flow in the opposite direction, simply go into edit mode, hit 'a' to select all vertices, then in the UV/image editing window, make sure all the verticies are selected and hit 'm' and flip the image. This should make your animation flow in the opposite direction. | ||
Next: [[Ripples]] | Next: [[Ripples]] | ||
Revision as of 00:03, 1 October 2008
Here's a tutorial for making some simple animated water.
First of all; this is bound to change as more pyprp features become available. Always remember to have the latest version on the pyprp plugin installed.
Step 1: making a water-surface
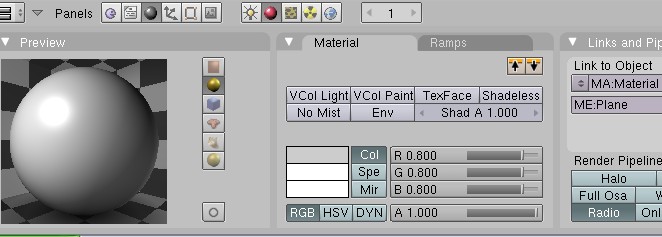
Start out by making a plane and giving it a material,
it should look something like this;
Step 2: making the material
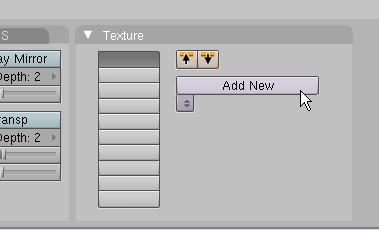
Start by making a new layer
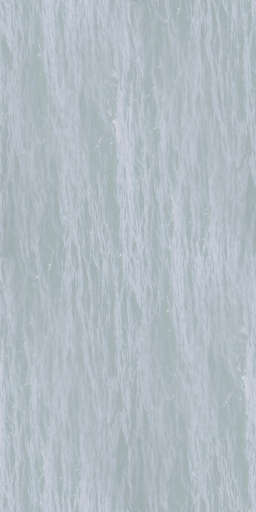
Then you should have a new material, click on the ![]() button and set the texture as "image" then load a texture, here's the one I used:
button and set the texture as "image" then load a texture, here's the one I used:
.
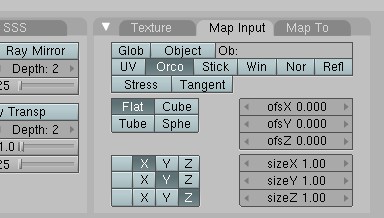
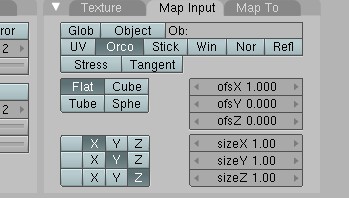
After you do that, click on the the "Material" button(red sphere) and then go into the "Map Input" tab, it should look like this:
If you have a UV you want the texture to use select the "UV" button and set your UV name.
Ok, here comes the fun part.
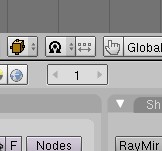
First, make sure that you are on frame one in blender,
here's what that should look like:
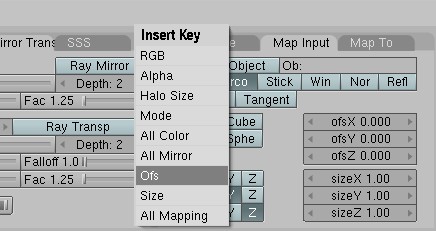
now, with your mouse in the buttons window press the "I" key and it should bring up a menu, then select "Ofs",
that will add one "keyframe" for the offset channel to your anim.
Then move the frames ahead to frame "800"
then move the offset(we're using X)to "1.00"
Then repeat the process you used before to set another "keyframe".
Now, you have a nice slow-moving anim for your water surface.
Note: If you need your animation to flow in the opposite direction, simply go into edit mode, hit 'a' to select all vertices, then in the UV/image editing window, make sure all the verticies are selected and hit 'm' and flip the image. This should make your animation flow in the opposite direction.
Next: Ripples

