Ripples
Here we're going to move on to making some ripples that radiate from the edges of our pool of water.
First, if you're making a round pool of water or, are making some ripples for a beach, you'll need curved ripples(you'll need curved ripples for anything other than a swimming-pool type thing).
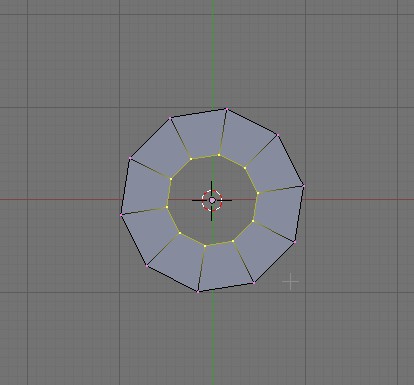
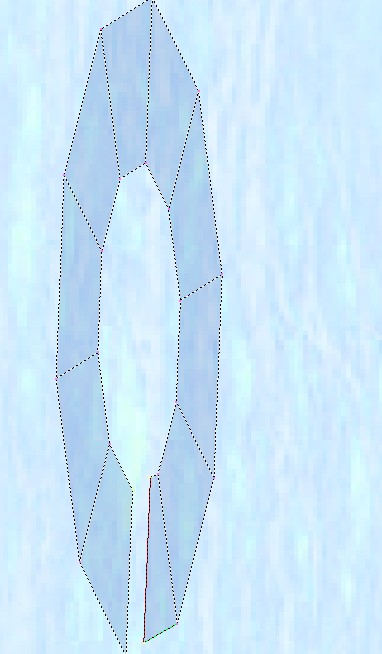
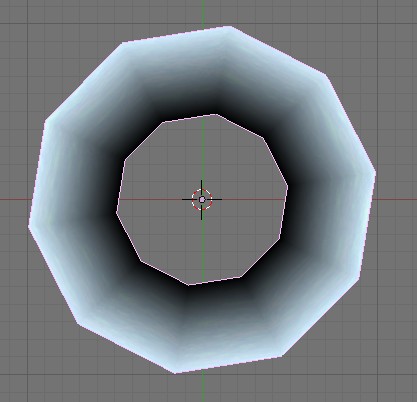
So, let's make a new object; circle with ten verts. Then when all of the verts are selected extrude(E) and then scale inwards, it should look like this:
Make sure to make the ripples go far enough into the pool of water.
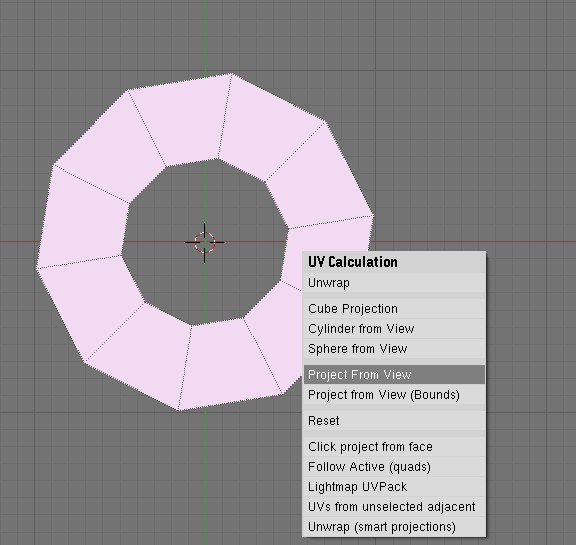
Now, go into object-mode and then go into FaceSelect-mode. Then, press the "U" key and select "project from view"(when you're in top view)
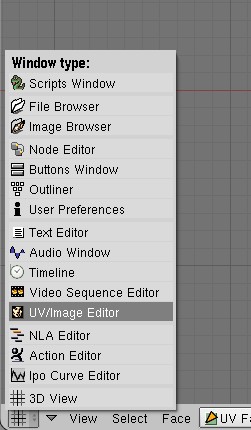
Now go into the "UV/Image Editor"
then load a ripple texture in, I used this one:
Ok, here's where it gets a little tricky,
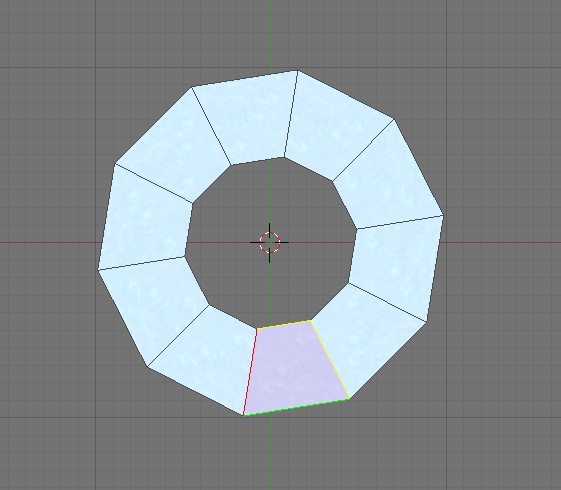
Go back into "3d view" and select one face in face select mode. it should look like this:
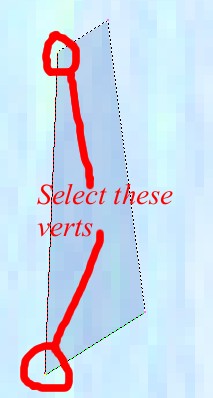
Then go back into the "UV/Image Editor" and then select two verts in the single face that's there
and then grab(G) them and move them to the right.
then go back into "3d view" and select all(press a until everything is selected)
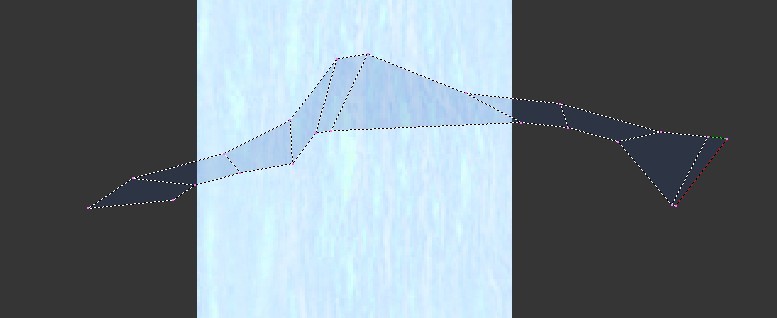
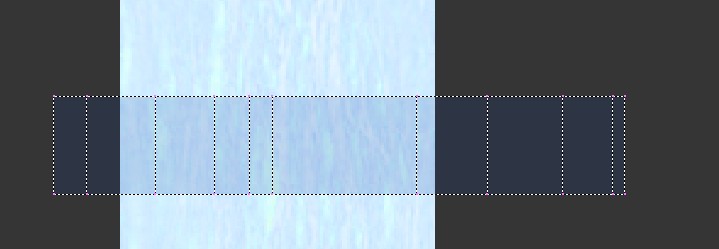
then go back into the "UV/Image Editor"--it should look like this:
Then comes the REALLY hard part--you have to make that like a row of boxes. But, when you know the trick it's fairly easy.
This may take some time.
After some rotating and stretching it should look like this (if you need some help just pm me(Lontahv))
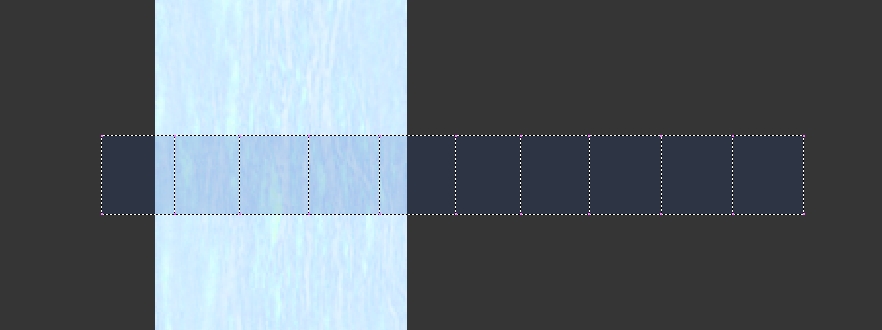
Ok, that'll never do for our unwrapping so we'll need to square it up, first select the top row of verts, then press(not all at once) (S)(Y)(0)(Enter) this will scale the top verts to zero along the Y axis. Do the same for the bottom and it should look like this:
Not bad, but we need to get it even better so that it doesn't look stretched when it gets into uru. So starting with the first "parallel along the Y axis"-verts after you select them, press (S)(X)(0)(Enter) this should make them straight up-and-down. Just work your way from left to right until it looks something like this:
But the boxes still aren't even--if you've gotten this far and are still alive I think you can figure out how to make those faces square-like things
hint: try--when grabbing--using the X key to constrain the movement
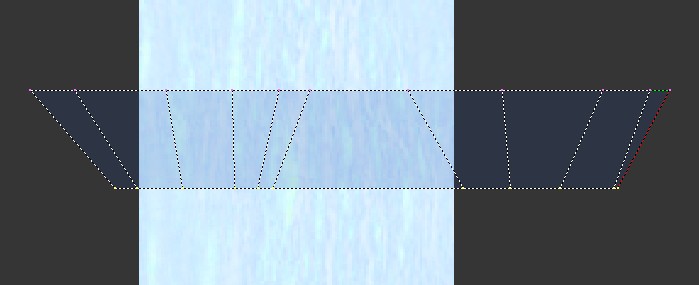
After a little time, here is what it should look like:
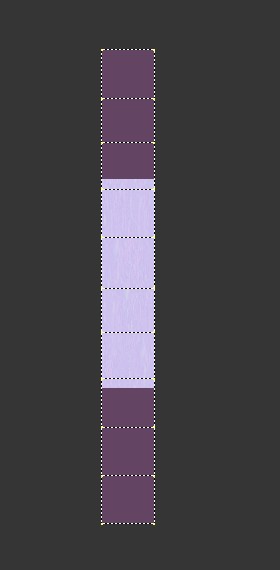
Then rotate 90 degrees (R)(90)(Enter).
After that select all and scale(S) and grab so that it looks like this:
Now that that's done we can move on to the Material.
Go into "3d view" and then out of "UVFaceSelect-Mode"(F) Then do much the same steps as we did before for the other material but this time instead of placing the KeyFrames 800 frames apart, place them 180 frames apart.
Ok, now we need to Alpha-Vert-Paint-Blend, this is explained in another tutorial so I'm not going to give instructions here. Here's the vertex alpha paint should look like if you have a pond-type thing:
Make sure you have the water ripples above the water-plane.
Ok, here comes the crazy-blender thing:
First, select your water-ripple-ring
Then select your water-surface-plane, then press (Ctrl+P)(Alt+P)
Now export your age.
And if the water-ripples are not flowing away from the land, select your water-ripples, then go into "UVFaceSelect-Mode" and then select all of the faces and then go into the "UV/Image Editor" and select all of the faces there, and then press (M)and select to mirror on the X axis.
And there you have it, some simple water.
If you need help with some of the steps or think I should explain something better, feel free to PM me(Lontahv)

