GLSL Stencilling
With the release of Blender 2.48, stencilling textures has become much much easier: this is because of the addition of realtime GLSL in the 3D Viewport (and game engine, but that probably doesn't matter much to you). GLSL is a better way of shading the viewport. It allows for such effects as realtime shadows, better shading, and, most importantly, real-time stencilling: you can now see the textures fading in and out of each other, and being painted on, as you paint them on. As you can imagine, this is far more intuitive than the greyscale representation which age-builders have been shown in the past- and saves alot of time, as you don't need to load up your age to see if the stencils have worked!
To do this tutorial, you will need Blender 2.48 (get it here) and some textures which you would like to blend between. I'm going to use two rock textures.
Firstly, we need to enable the new GLSL shaders. To do this, go to the Game menu up on the top bar, and choose "Blender GLSL materials". Switch the 3D view into texture mode- this is the only mode where you will be able to see the stencilling feature.
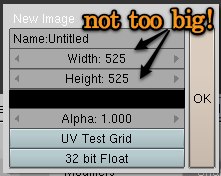
Bring the object which you want to texture into edit mode, and go into top view: I would recommend a simple plane for your first try. Unwrap the texture (the keyboard shortcut hasn't changed this time around ;)) and open up a UV window. We're gonna apply a base texture to the plane, which we will paint the stencil onto later. To create this blank stencil, press Alt-N while your cursor is in the UV mapping window, and choose the settings in the image below:
Now, we have to change the material a little. Go to the shading/texture tab with the object selected, and make three texture slots, all with the 'Image' property. In the first and third slots, load the two textures which you want to use. In the second slot, load up the blank stencil texture by clicking the arrow beside "IM:" and choosing the pitch black texture.
Well done! You're 3/5 of the way there (and the 5/5 bit is fun!)! We need to edit the options for these textures now, so go to shading/material. Use these settings for the first and last texture:
and these for your stencil:
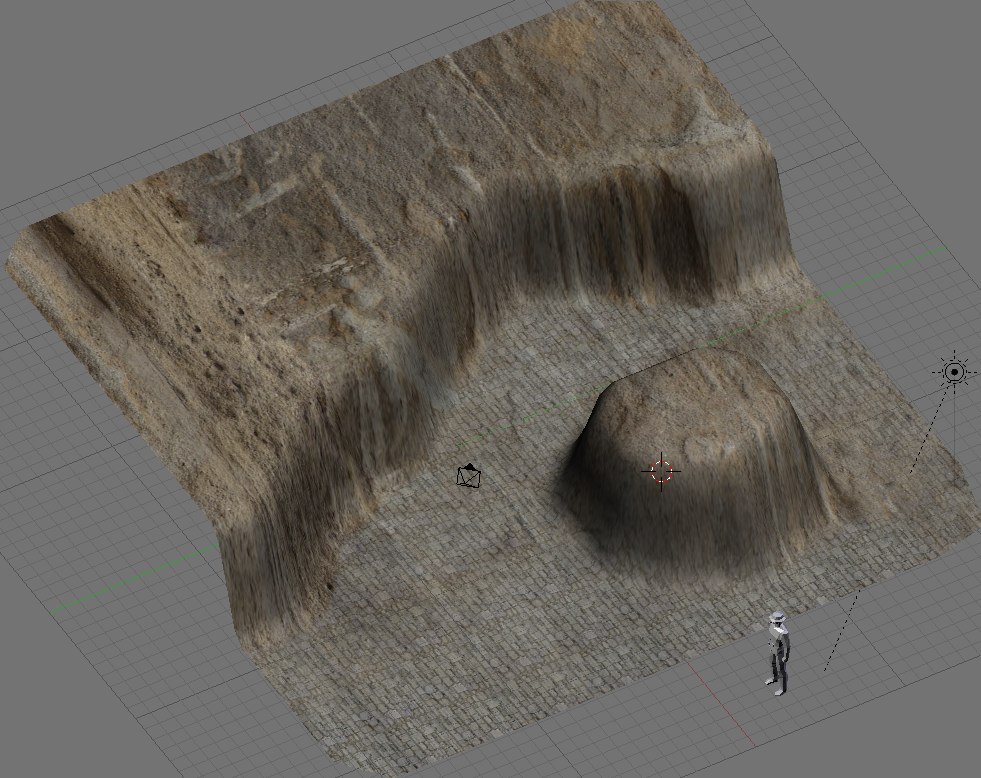
Woo! Onto the fun bit now! Change the 3D Viewport from Edit to Texture Paint mode, and ensure that you are in Textured view mode. Click with your left mouse button, and drag over your object- you should see a new textured scribbly thing appearing on top of your object! If not, don't panic. Go to the editing panel (press F9 while your mouse is in the buttons panel window) and look for a tab called Brush. Click on the coloured strip, and change it to black, if it is currently white, or change it to white, if it is currently black. The black and white stand for your textures- and you don't just have to use black and white! Shades of grey will be a blend between the two, which is useful. Here's my final result (after 2 seconds of work! the new tool is just fantastic!):
see how the tiles appear dirty, and you can see the rock underneath them? that's the result of grey shades.
I hope you found this tutorial useful, and if you don't understand anything feel free to PM me or make a topic on the forum! If you think something needs improving, improve it- this is a wiki, after all!
ardent red


