Adding a Bit of Surface
Contents
Preparations
I will assume that you have some basic modeling experience - if not, then please try reading the Blender Noob to Pro tutorials, or the tutorials on this site first.
As we don't want our terrain to just end, let's make it an island, so the ending is a little more believable.
Before you start - add a simple cylinder that is 6 units high, and about 2 units in diameter.
This is the approximate size of an Uru avatar, and will help you determine the scale of your age.
Add the following logic property to hide it from the export later on:
string type : "region"
(Yes as you will learn this is a bit of a hack, as regions are supposed to be used quite differently)
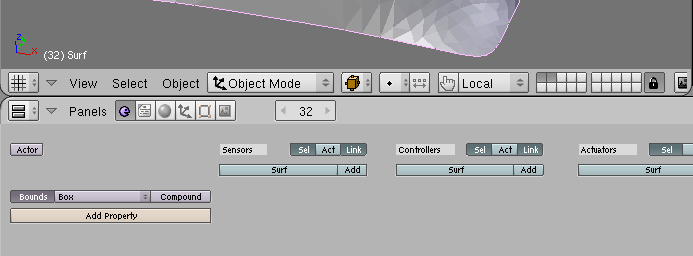
To add a logic property, click on the "Add Property" button in the Logic panel (hit F4 to see this). A new property will appear, with a type of Float, a name of "prop" and a value of 0.000. Change the type to String, change the name to "type", then change the value to "region". Now you should have a property as it appears in this image:
![]()
Modeling the surface
Now, it's time to make the island....
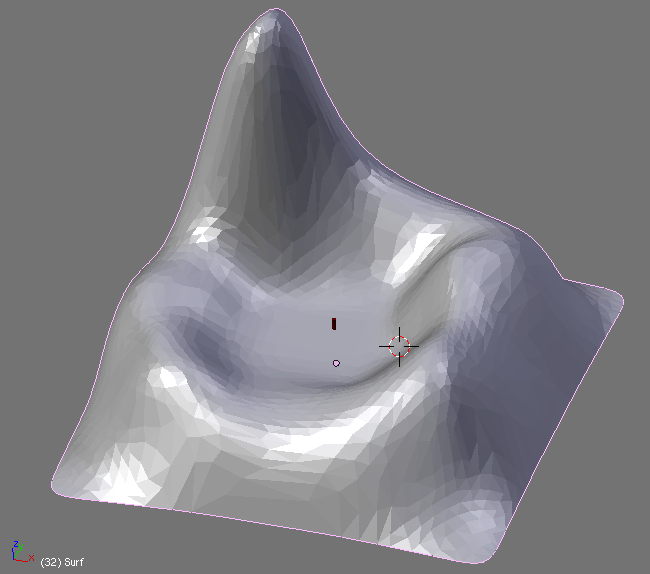
Try to make something like this - a small island with a bit of a mountainous region on it:

(Note that this particular mesh was made in a few minutes by using a NURBS surface to do the outline and converting it to a mesh. By applying two layers of subsurf and a decimator (both are modifiers you can apply in the edit panel), I was able to neatly round off the edges, while still keeping the vertex count low.)
If you don't have the time or ability to model this yourself, you can download the Blender file for this object here
Adding a physical surface
If we were to export the age as it is now, we would just fall through the bottom. That is because drawing of objects, and actually colliding with them use two different types of meshes in blender. Lucky for us, PyPRP is able to make a physical surface from the visible object. We just have to tell it how to do it...
To do this - we go to the Buttons window, and select the logic button (F4 works too).
You will see a button called Bounds. Press it, and you will see another button appear next to it, saying Box:

If we were to leave it as it is, it would be useless, as the collision mesh would be the bounding box, and we would just be in the middle of the bounding box. The button that says Box at the moment is actually a drop-down menu that allows us a number of properties, of which 4 are actually working in Uru:
- Box
- Uses the objects bounding box - The smallest box that still encompasses the entire object.
- (obviously not a good choice for our island
- Sphere
- Uses the objects bounding sphere - The smallest sphere that still encompasses the entire object
- (not a good choice either since the surface we want to walk on would be in the middle of the sphere too
- Convex Hull Polytope
- Uses the objects Convex Hull - The surface you would get if you were able to wrap it in shrinking foil.
- See this article for more info about convex hulls.
- (as our surface has a valley, it wouldn't be represented correctly by a convex hull - as the valley would be filled up.
- Static Trianglemesh
- Don't mind the "static" part - This one just copies the faces from the visible object to the physical mesh.
- (This is exactly what we need here)
Select "Static Trianglemesh" and we are on our way.
Adding a bit of sunshine
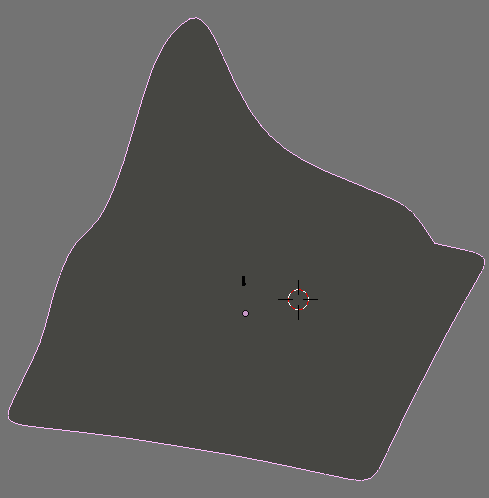
If we don't add a light, the age will turn out very flat in the age, much like this:

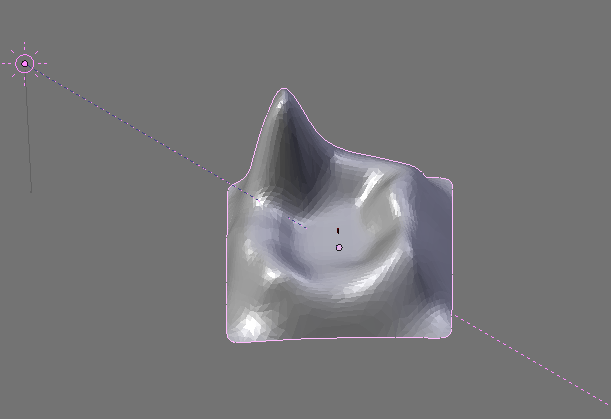
So, we should add a sun to it. Place and rotate one so it looks a bit like this:

After first selecting the sun, holding SHIFT, then selecting the island, you can press CTRL-T, to enable a "track-to" constraint - meaning that the sun will always face the center of your island, even if you change its location afterwards. When adding lights with ray shadow enabled, take care to keep the dist value below 100 or so, or the resulting shadows may 'clip' or vanish entirely.
Continue
Now that we have a walking surface, and a basic light, let's make a first visit to the Age
