PyPRP:Creating a Swim Region
Although adding swimregions looks pretty straight forward I actually had some problems implementing them. I decided to start with a no current region which actually still isn't functioning ;) It will eventually and therefor this tutorial will start with with this seamingly simplest swim region. I wanted to go ahead and begin this tutorial and finish the left over pieces later.
So this is a work in progress. Any experiences are welcome to finish this tutorial. Please PM me with your findings.
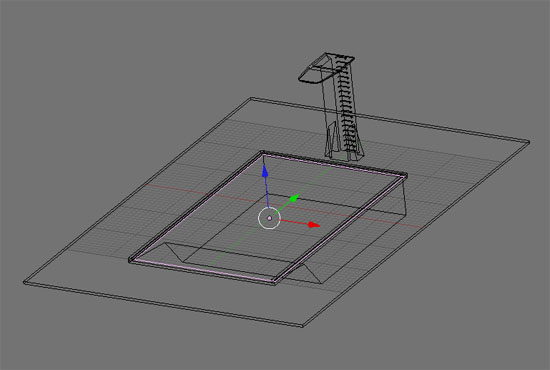
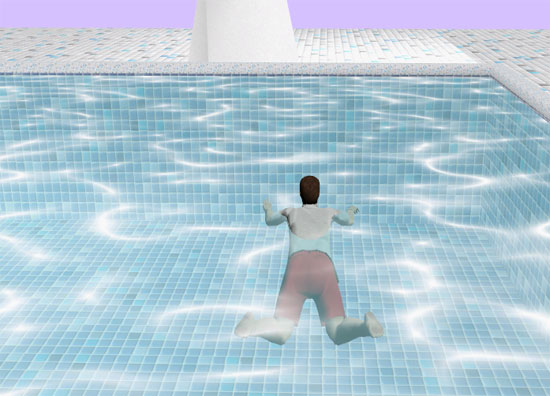
Let's have a look at our working model. I must admit that creativity was at an absolute minus zero when I thought up this little age. Nothing mystical, no fantasy element, nothing. Just the first thing that came to mind when I thought about swimming ;) Still I did try to have it look a bit fancy, with nice tiles and stuff. At lease give me some credit for that!?
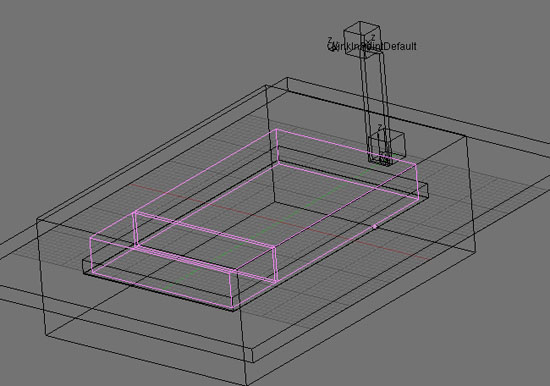
If you look at the model you can see that I have a plane selected. This plane is my water mesh. I specifically didn't set the bounds for this mesh. If I would do so you would be able to walk on water. Interesting, but not what we want.
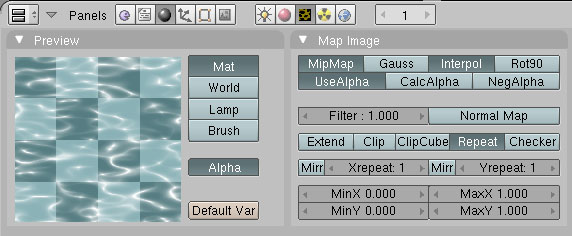
I gave this mesh a transparent texture, or more of a semi transparant texture. I wanted a pool-blue color with caustics, transparant enough to show the tiles in my pool but also show some color. The texture has a transparant layer to accomplish this. The white caustic shape is not transparant, but does blend in. I made the blue transparant to get the effect I wanted. Don't forget to set the "Use alpha" option in Map Image to make your alpha channel work in Plasma.
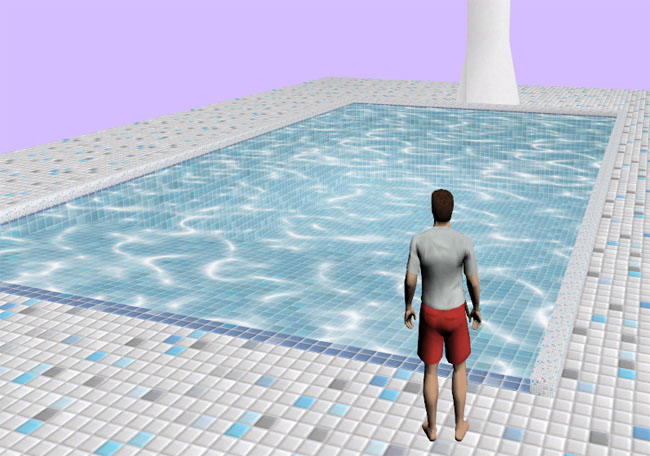
In Plasma it looks pretty cool. And I told you about the fancy tiles didn't I? ;) ;) To bad the water is still static. Imagine my little pool with a cool water shader ;) (Subtle hint to PyPRP developers lol)
Contents
Step 1 - Adding your actual "water" region
I believe it is possible to use the water mesh I just showed you to be a region too. Or more precise: texture a swim region with a water texture. I decided to Keep textured meshes and regions separate to keep things organized.
I added a plane simular to the one I textured and named it: "RgnSwimPool". In this case do set bounds to "Static TriangleMesh".
Step 2 - Adding a Swim detection region
Now to make sure your avvie understands that the above region is a region to swim in we need a swim detect region.
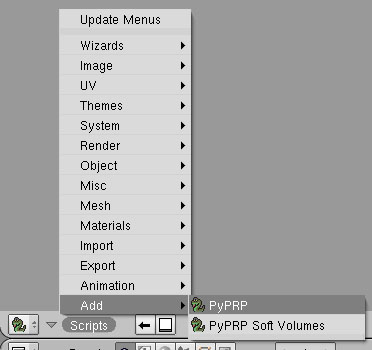
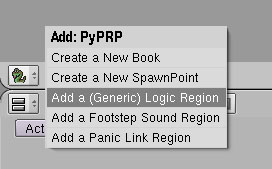
Change one of your Blender views to scripts and use the "Script" menu to add a PyPRP region. From the offered region types choose "Add a (Generic) Logic Region". In my case I named it "RgnSwimDetect".
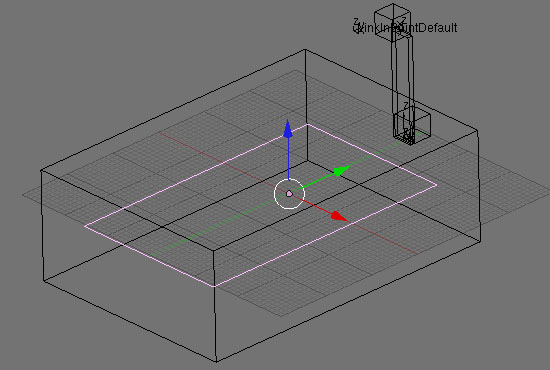
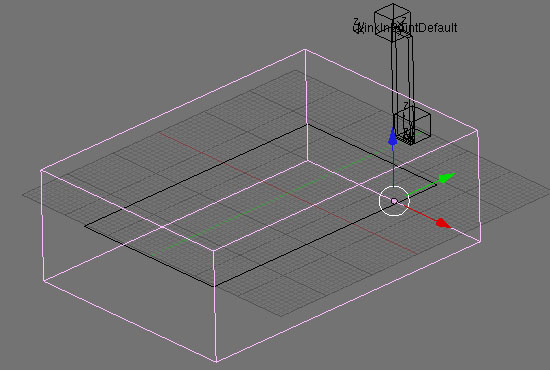
And this is what "RgnSwimDetect" looks like. I made it large enough to easily encompass the entire swim region (RgnSwimPool) and some more.
With our regions in place, let's move on to some actual swimming!
Step 3 - Adding AlcScript: 3 types of currents
At the moment Plasma support three kinds off currents, each having their own swim style setting in AlcScript:
- No current -> Simple
- Straight current -> Straight
- Circular current -> Circular
We'll start with the No current one since we have everything in place to make it work. For the other two to work we will add an empty later on, to give our region an anchor point for the currents strength. In case of the Circular current this will actually be the center of the current.
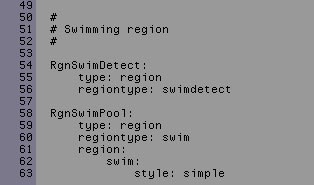
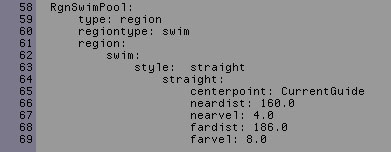
Let's move on to some basic AlcScript for a No current swim region. Remember the names of our regions? Our swim region is called RgnSwimPool and our swim detection region is called RgnSwimDetect. Now have a look at the AlcScript I added for both:
Okay... export your age and take a plunge!!
Step 4 - Adding a "current" empty
If you want to swim region to have a current, either a straight or a circular one, you have to set the direction and strength of the current. To do so we will create an empty. This empty will function as an anchor- or center point for the current.
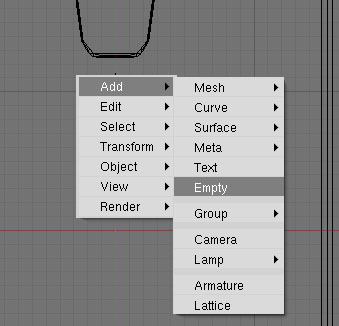
Put your cursor at the point above your swim region where you want the anchor to be. I suggest you switch to top view with numpad 7. Place the empty close to the swim region on the Z-axis.
I called the empty "CurrentGuide". We will need the object name as a reference in AlcScript.
Step 5 - Adding Alcscript for straight and circular currents
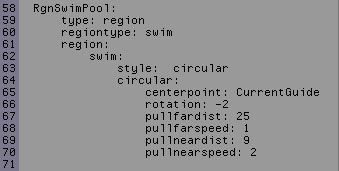
For a circular current add have a look at the AlcScript below. As you can see I added some lines specifically to set up the current. Notice how I linked the empty to the swim region? I simple copied the settings for FuncChk. Let's have a look at what they do.
Step 6 - To finish things of: let's splash!!
Jumping from my little springboard or just running into my pool without the clear sound of splashing water wouldn't be good. So besides adding some footstep region to my pool side tiles and the metal ladder I have also added some footsteps to the pool water.
Again have a look at the second layer, where I hide my regions.
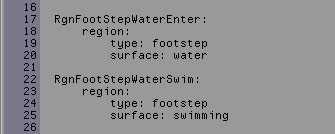
I added two more region which I selected above. The smaller one covers the part where my avvie can still walk. To this region, which I called RgnFootStepWaterEnter, I added footstep type "water". To the big one , RgnFootStepWaterSwim which covers the deep end of the pool, I added "swimming". I had them overlap a bit for a seamless transition. The AlcScript for this:
And that's it! We have a nice pool, with transparant blue water with a caustics texture. And we also have sounds to make the entire experience more realistic. Only one thing remains... some good advice:
Don't dive from the side of the pool and be carefull running with wet feet!!! ;)
Shorah!
Marcello

